

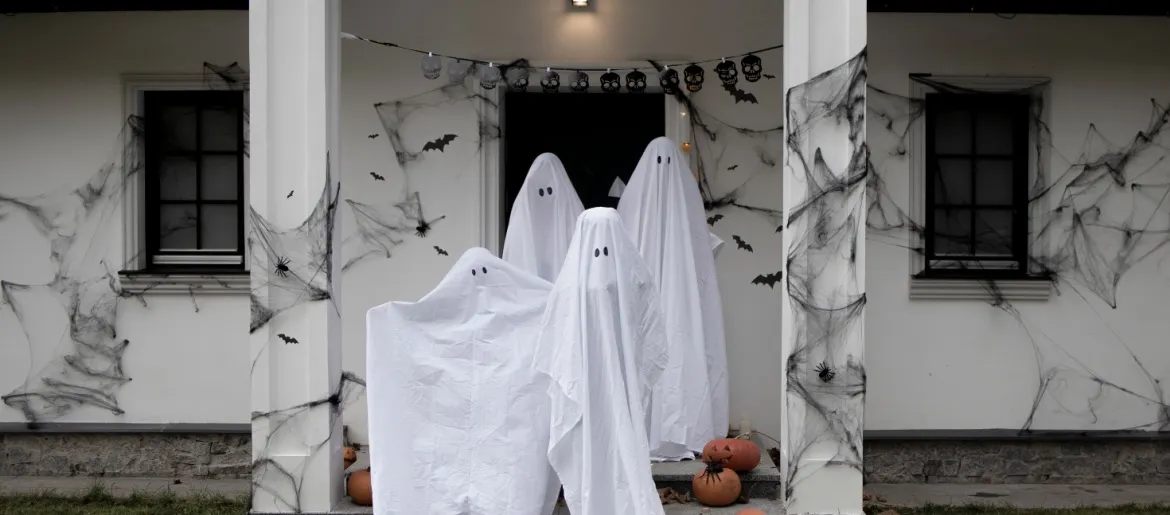
A few floating candles in the hallway, a family of ghosts by the front door and a suspicious number of bats climbing up the bedroom wall can make October feel a whole lot spookier. While Halloween stores are full of tempting finds, some of the best DIY Halloween decorations can come from things you already have tucked away in drawers, closets or the recycling bin.
The fun of making your own Halloween décor is that you get to make the rules. Want your living room to look like a haunted mansion? Go all out. Prefer a few friendly ghosts keeping watch from the windows? Those work too, and there are plenty of non-spooky ways to celebrate Halloween(opens in new tab) if you’re decorating for little ones. The best Halloween decoration ideas don’t require a big budget, either. A little creativity can turn the most ordinary household finds into something wonderfully wicked, and getting the kids involved might just make the whole decorating process more entertaining than Halloween night itself.
Gourdgeous reusable pumpkins
Estimated craft time: 10-15 minutes
Despite being a classic hit, carved pumpkins may not be everyone’s cup of tea — especially when you have to replace them year after year. A more practical solution includes creating your very own reusable pumpkins.
Find any socks that are no longer part of your wardrobe or even that sole sock left somewhere in the dryer. You can opt for more pumpkin-adjacent shades such as orange, or if you want to have fun decorating it, you can even pick a quirky pattern.
Start off by cutting two to three inches off the top part of the sock to give it a better shape. Fill it with stuffing or cotton until you get a nice round shape, then tie it together tightly. Grab a long piece of twine and Pull on the ends of the twine to check that they are equal in length. Then, bring the ends of the twine together and crisscross them. Do this until you get that perfect pumpkin shape.
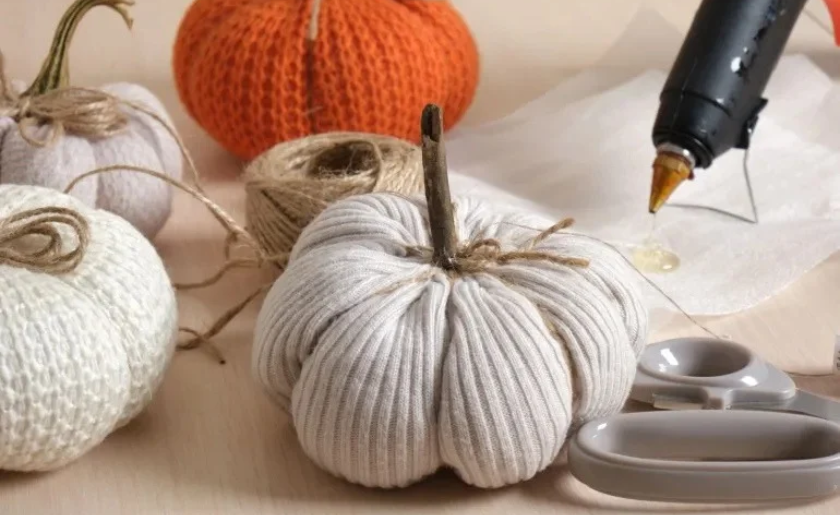
Use the leftover twine to create a stem for your new low-cost decoration by tying it around the loose top part where you tied the sock together. If you want to make sure the stem is thoroughly supported and will not budge, use a trusty glue gun for a firmer placement.
You can add some spooktacular googly eyes or draw them on for a more personalized final look. This process should take you around 10 to 15 minutes.
Hauntastic floating candles
Estimated craft time: 25-40 minutes
Got some toilet rolls around the house that serve no purpose? Now is their time to shine and be transformed into a floating candle decoration. Use a glue gun to gently let the glue pour around the edge of one of the openings so that it mimics the texture of melting wax.
For your painting options, acrylics are the best-suited choice for the little ones as spray paint produces fumes. Opt for a shade of white and use a dry-brushing technique if you want to add a dash of realism and depth to your new candle.
Browse your local arts and crafts store and get some tea light LED candles that you will then combine with the toilet roll for the finishing touch. Pierce the top of the toilet roll in an X shape using a needle and some thin string — fishing wire is also great for this as it blends in with its surroundings with ease. This ensures that the flameless candle you place stays at the top and lights the room, much like a real candle, while also giving you a way to attach the candle to the ceiling. Gluing it in place might seem like the easier choice, but be prepared for a complicated removal if you want to switch it off or reuse it in the future.
All you need to do next is turn on the flameless candles, attach the string to your ceiling and enjoy your new spooky décor.
Monsterrific mummies
Estimated craft time: 10-15 minutes
Bandages, a jar and a lot of excitement are all you need for this DIY Halloween craft. Carefully wrap the bandage or cloth, depending on what you’ve got lying around the house, around the desired jar. Do this until you are satisfied with the texture and opacity of your new ghouls.
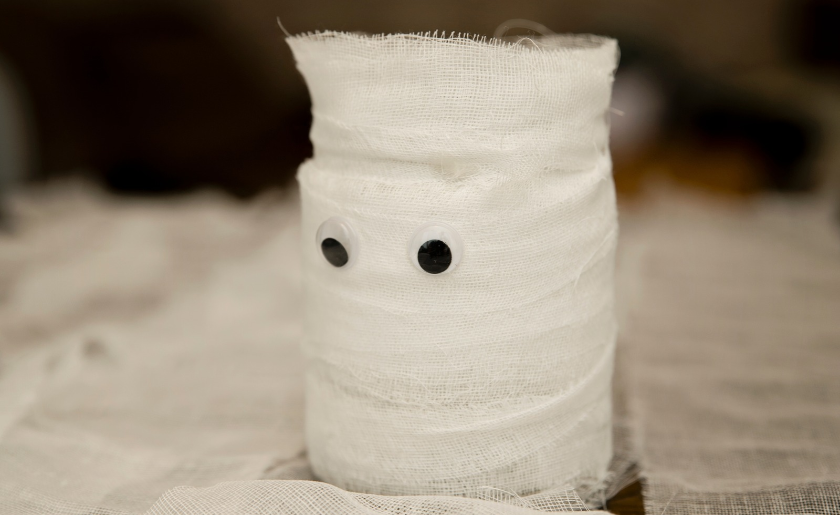
Glue some googly eyes on top of the bandage and you are done. You can also use juice boxes instead of jars if you want to step up your spooktacular snacks game for all those eager trick-or-treaters.
A wreath to die for
Estimated craft time: 20-30 minutes
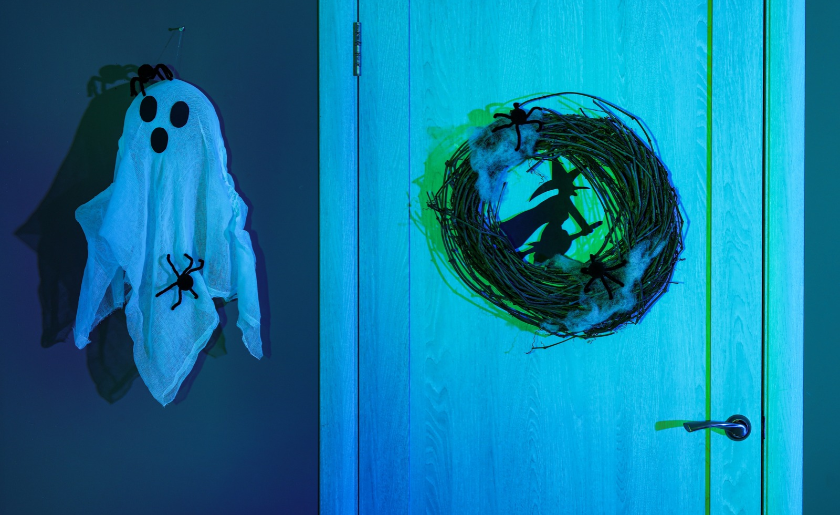
For this craft, you will need a wooden embroidery hoop, or you can make your own out of twigs and sticks. Wrap white ribbon all around it to completely cover it. Then, tangle black, yellow and orange yarn in a circular pattern over it. Cut a little ghost out of some cardboard and bring it to life with white paint and two black dots for eyes. Decorate the wreath with the ghost cutout, which you can hang to fall inside the middle of the wreath for a cute yet spooky look.
Fangtastic bats
Estimated craft time: 30-45 minutes
Walnuts are a great ecofriendly resource for DIY Halloween crafts on a budget(opens in new tab), and this time of the year is no exception.
Start by painting the walnuts in a black shade and let them dry while you prepare the other parts of your bat friend. In the meantime, you can cut some tiny wings out of cardboard and paint those in the same color. Make two for each bat, but feel free to add as many bats as you’d like to your new fangtastic collection. Attach a string — black if you want the look to be more cohesive — to the top of each walnut so that you can later place your newly crafted decorations anywhere around the house.
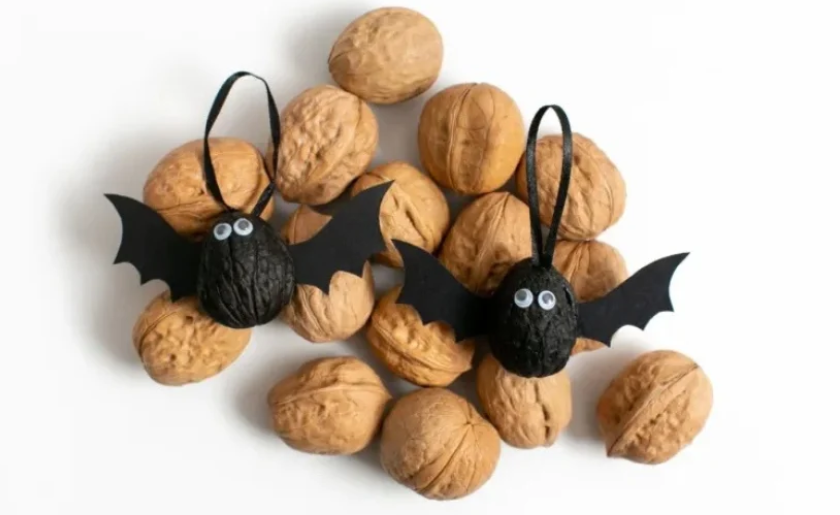
You can add some eyes with a white sharpie, or you can use the same old trustworthy googly eyes we’ve mentioned so far, since you will still have a few of them left over.
Jack-o’-Lanterns with a view
Estimated craft time: 10-15 minutes
Buy orange and yellow Chinese lanterns and hang them in the window. Use a black marker pen to make the eyes and the teeth. If you can sit them down on a windowsill, put small flameless candles inside to light them up. You can put them on the windowsill on your first floor or hang them by the windows either there or on the second floor.
DIY Halloween decorations for kids with a spooky streak
Halloween gets even more entertaining when the little monsters in your household get to make some of the decorations themselves. Old clothes and leftover craft supplies are all fair game here, and nobody’s going to mind if a ghost ends up with crooked eyes or a monster looks a little too friendly. Half the fun is seeing what the kids come up with, and these easy DIY Halloween decorations should keep those little hands busy until the witching hour.
Little plates of horror
Estimated craft time: 30 minutes
Who knew a paper plate could have such a terrifying makeover? Well, terrifying might be a stretch once the kids get involved, but Halloween is all about getting creative and silly. With a little paint and some googly eyes, those leftover party plates can become a whole gang of goofy monsters ready to haunt the house.
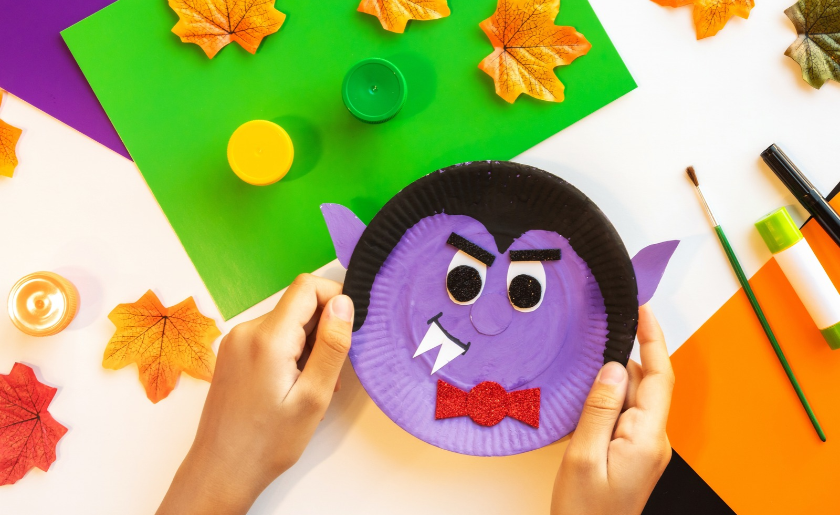
You’ll need paper plates, colorful paint, construction paper, glue and googly eyes. Start by letting the kids paint each plate however they like, whether that’s slime green, pumpkin orange or a color no respectable monster would ever wear. Once the paint has dried, cut out some pointy teeth from construction paper and glue them around the plate to create a toothy grin. Add googly eyes wherever your little artists think they belong. Who says monsters can’t have five eyes?
Once your creatures are ready, hang them on bedroom doors or arrange them on a wall for a homemade monster gallery. A few pieces of removable mounting tape should do the trick, and the kids get to show off their spooky masterpieces all October long.
Bootiful ghosts
Estimated craft time: 20-30 minutes
Time to raid the closet for a pair of boots you no longer wear, some old pants and a bedsheet. Grab a pool noodle, too, and you’ve got everything you need to bring your ghost to life.
Doing this with your kids will be especially entertaining for them, as you can help them create a ghost version of themselves. Get that pair of boots we mentioned and add a bit of stuffing inside it if you want to adjust the height of your ghost. Then, grab the pool noodle and stuff it through the pair of pants. Place the pool noodle through the boots afterwards, so that each end is stuck in one boot, forming a “U” shape at the top.
Repurpose an old sheet — cut it in a circular shape and place it on top of the pool noodle. For the ghost’s eyes, you can use another darker sheet cut into two circles, or you can turn to a marker for a more freestyle form.
Egg-stra creepy crawlies
Estimated craft time: 30-45 minutes
An egg carton isn’t the first thing that springs to mind when you think of spiders, but those little cardboard cups make excellent eight-legged troublemakers. With a little help from the kids, those cardboard cups can become a whole colony of spiders, minus the actual creepy-crawly problem. Short on cardboard? Free boxes are all you really need to put together a cardboard costume(opens in new tab), whether it’s a pizza slice or a gumball machine.
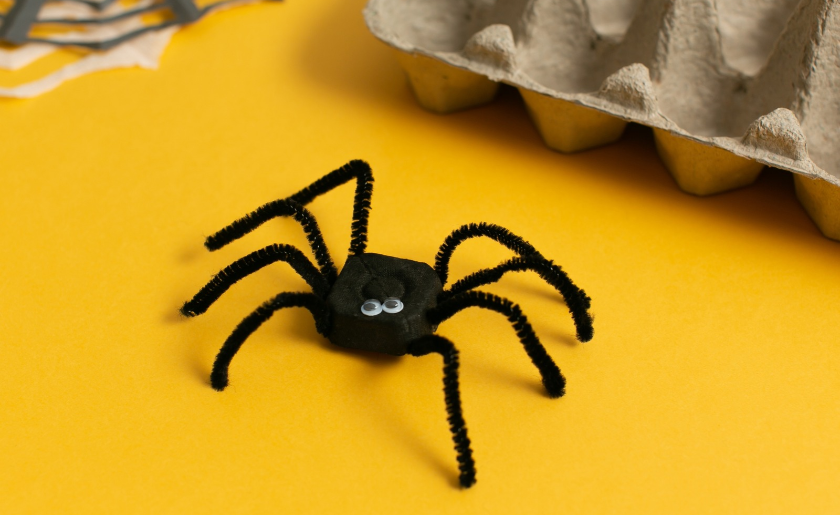
Start by cutting the individual cups out of the carton, leaving the rounded bottoms intact to form the spiders’ bodies. This part is best handled by an adult, since egg cartons can be tricky to cut through. Let the kids paint each cup black and set them aside to dry.
Next, poke four small holes along each side of the cup and thread black pipe cleaners through them, bending the ends to create eight spindly legs. Finish by gluing on a pair of googly eyes, or go wild and give your spiders a few extras.
Your new eight-legged residents can lurk along bookshelves or dangle from a homemade web using a bit of string. Just don’t be too alarmed when you spot one out of the corner of your eye.
Give your Halloween decorations a crypt of their own
Your Halloween collection might start with a few homemade ghosts but give it a couple of Octobers and you could find yourself sharing closet space with a life-sized skeleton. When the decorations begin spilling into rooms where they have no business haunting, a self storage unit(opens in new tab) can give them a proper place to spend the off-season.
A 5’x5′ storage unit(opens in new tab) is a good starting point for a modest collection of Halloween décor, with enough room for stacked bins and smaller props. If you’ve graduated to elaborate porch displays or have several oversized decorations, a 5’x10′ unit(opens in new tab) offers more flexibility for shelving and bulkier pieces. Either way, a little planning now will spare you a frightening mission next October.
Here’s how to keep your homemade Halloween decorations in good shape until their next appearance:
- Send everything to storage clean and dry. Wipe down plastic decorations, shake dust off wreaths and check fabric ghosts for damp spots before packing. Even a little trapped moisture can encourage mold or leave your favorite creations smelling like something crawled out of a crypt.
- Give fragile monsters their own compartments. Those egg carton spiders and walnut bats won’t stand much chance beneath a heavy box of pumpkin decorations. Use divided containers or small cardboard boxes to separate delicate crafts, adding tissue paper for cushioning. Keep anything made from paper or cardboard away from the bottom of the unit, where accidental moisture exposure could cause damage.
- Keep your Halloween lights from becoming a tangled nightmare. Remove batteries from LED candles and lanterns, then wrap string lights around cardboard pieces or cord reels. Store electrical decorations separately from heavier props and label the containers so you can find your glowing jack-o’-lanterns without opening every box.
- Make room for the monsters that don’t fold. Wreaths, oversized ghosts and larger porch decorations need a little breathing room. Place wreaths in protective boxes, keep tall props upright when their construction allows it and use freestanding shelves to organize smaller containers. Leave a narrow walkway through the unit so you can reach decorations at the back with ease.
- Create a spooky inventory for your future self. Label bins by category or decorating area, such as Front Porch Frights or Living Room Hauntings.
One final consideration is the type of storage you choose. Climate-controlled self storage(opens in new tab) is worth considering for fabric ghosts, painted wooden decorations and delicate paper crafts, since prolonged exposure to temperature fluctuations can damage them. Avoid placing containers directly against exterior walls and keep heavier bins at the bottom of your stacks.
With everything safely tucked away, your homemade horrors can rest in peace until it’s time to raise them from the dead again.
FAQ
1. What are easy DIY outdoor Halloween decorations?
Painted pumpkins, bedsheet ghosts hung from a tree branch, foam board tombstones, milk jug ghosts lit with LED lights and a spider web made from rope or black yarn are all easy to make. Your boot ghosts and ghost wreath also work well on a porch. Use sturdy materials, because outdoor décor has to handle wind, damp and passing trick-or-treaters.
2. How do I make homemade Halloween decorations last outdoors?
Choose weather-resistant materials such as plastic, foam board, fabric and painted wood, and seal painted pieces with a clear outdoor spray. Keep paper and cardboard under a porch roof, away from rain. Weigh down or stake anything lightweight, and use outdoor-rated string lights instead of indoor ones.
3. What are good DIY Halloween decorations for a living room?
Floating candles, window lanterns, a bat flock climbing a wall and a mantel of mummy jars give a living room a spooky look without much clutter. Dim lamps or orange bulbs help too. Stick to two or three colors, such as black, orange and white, and group decorations in clusters so the room looks planned, not busy. If the room is already crowded, these living room storage ideas(opens in new tab) can help you clear space before you decorate.
4. How can I decorate for Halloween in an apartment or rental?
Use removable mounting tape or small removable hooks to hang bats, paper plate monsters and lanterns on walls, doors and windows. Put the rest on surfaces: egg carton spiders on a bookshelf, mummy jars on a table and sock pumpkins on a windowsill. Avoid nails, and test the tape on an out-of-sight spot first to protect your paint.
5. When should I put up Halloween decorations?
There’s no fixed rule. Many people decorate at the start of October and take everything down the day after Halloween, while others start in September. If you want a long season, put out the sturdy decorations first and add fragile crafts closer to Halloween. That keeps them from getting damaged or worn out before the big night.
Keep the spooky spirit alive
Once Halloween is over and the last trick-or-treater has gone home, don’t be too quick to send your homemade decorations to the recycling bin. Most of these creations can make another appearance next October with a little care. Pack the smaller ones in labeled boxes, keep anything fragile well protected and consider a self storage unit if your growing Halloween collection has started taking over the closets.
Give it a few years and you might have enough decorations to give the neighborhood haunted house a run for its money.


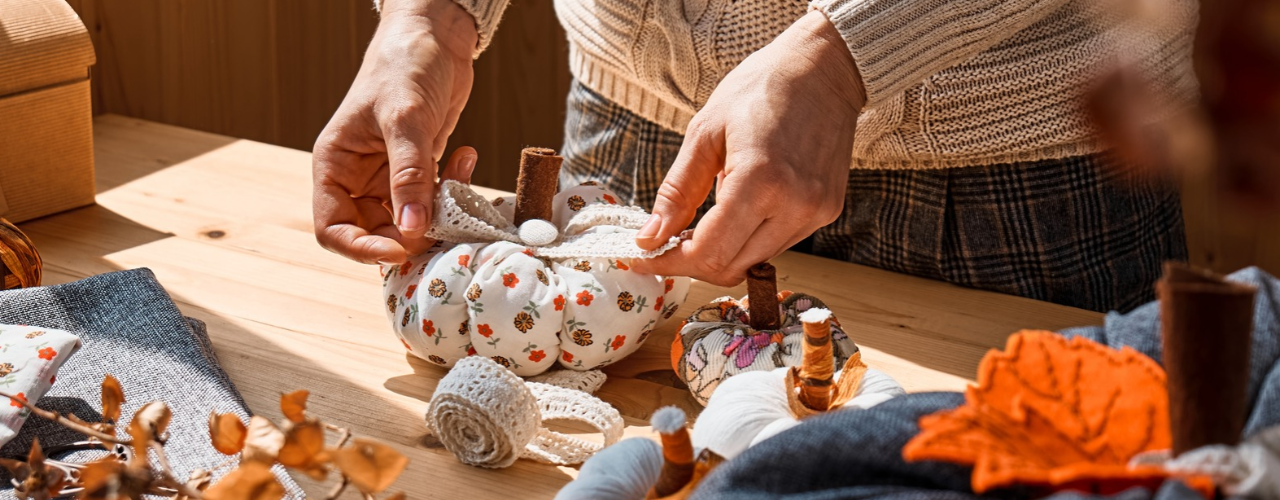
Scary Good DIY Halloween Decorations That Won’t Haunt Your Wallet
A few floating candles in the hallway, a family of ghosts by the front door and a suspicious number of bats climbing up the bedroom wall can make October feel a whole lot spookier. While Halloween stores are full of tempting finds, some of the best DIY Halloween decorations can come from things you already have tucked away in drawers, closets or the recycling bin.
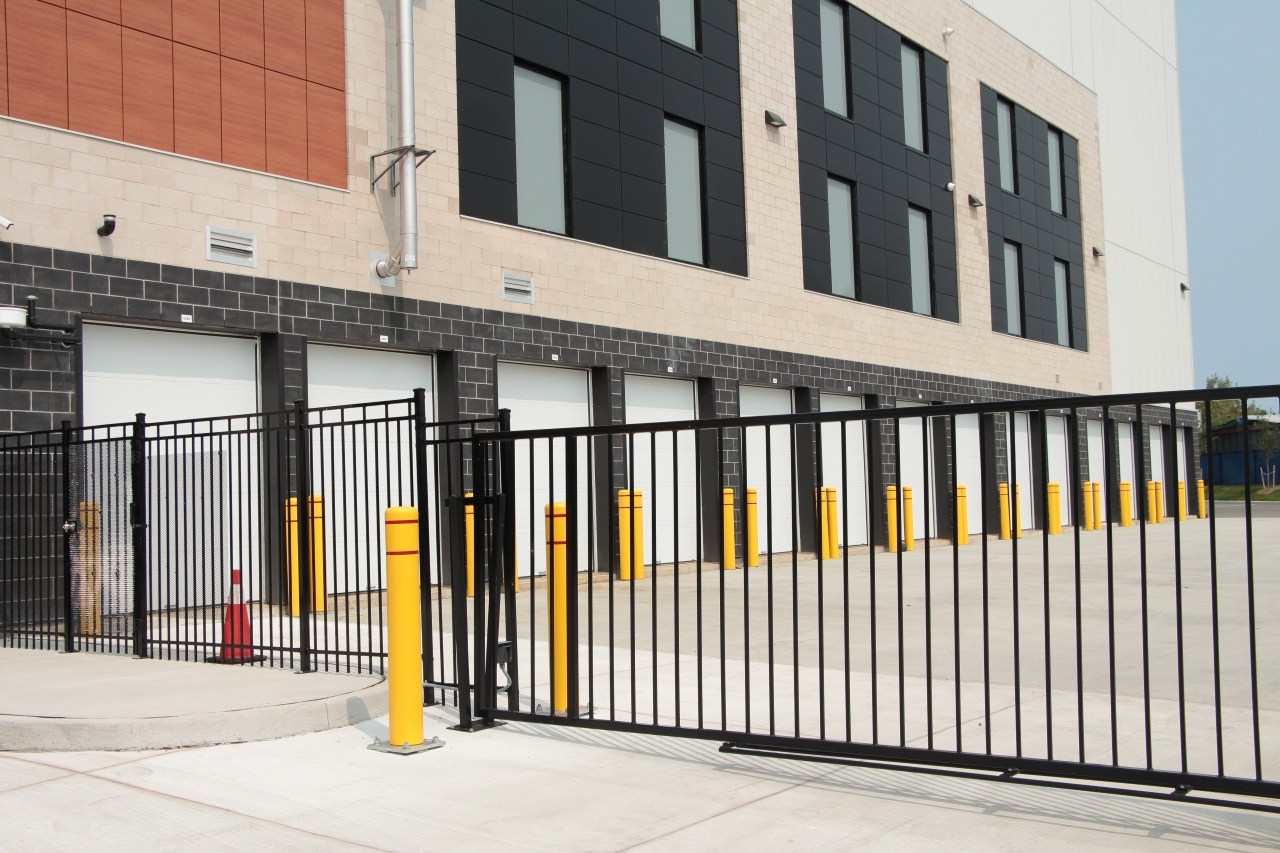
Suburban Giants and Urban Risers: Where America’s 100 Largest Metros Fall on the Self Storage Map
Self storage has long been a suburban story. Across America largest 100 metros, 59% of the inventory built over the past decade sits outside city cores, largely preserving the ratio of the total existing inventory.
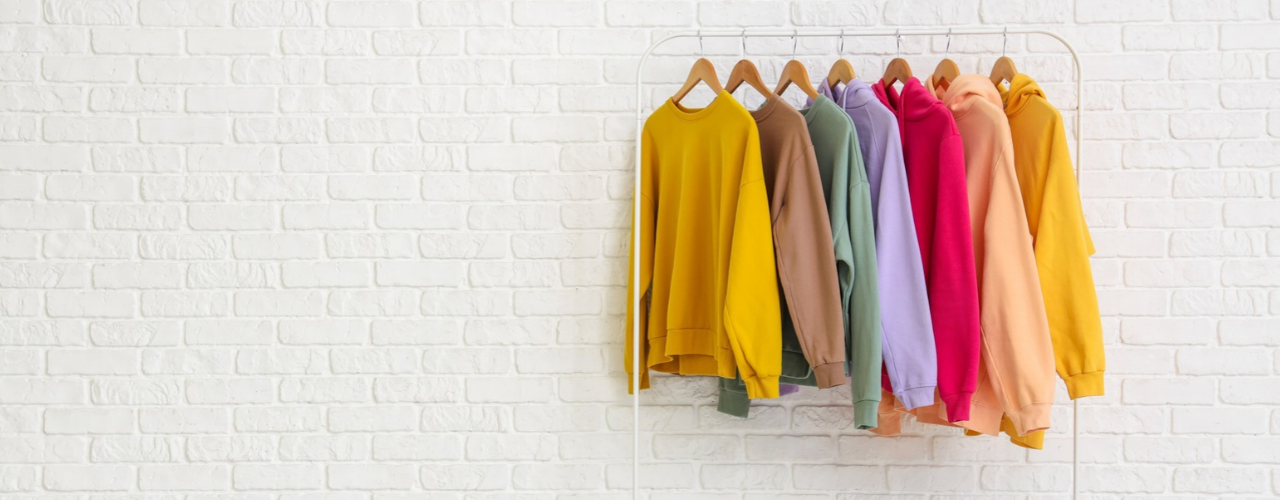
Sweatshirt Storage Ideas Worth Keeping Up Your Sleeve
Sweatshirts are great until you realize how much room they take up. A few thick hoodies can fill a drawer fast, with lighter crewnecks getting squashed underneath or pushed somewhere you forget about. Good sweatshirt storage can make that pile much easier to manage without requiring a bigger closet.
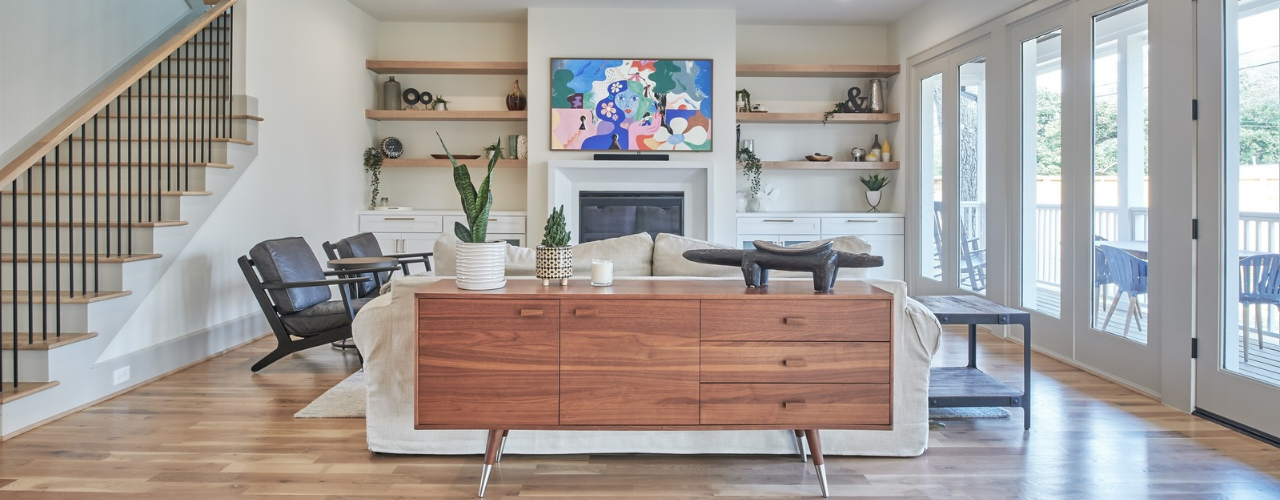
Living Room Storage Ideas: 28 Ways to Reclaim Your Hosting Space
If a living room is where most of a household’s living happens, good storage should be the top priority for setting up or revamping the place. After all, think of how easier it would be to have people over when tidying up the place is just a matter of putting things in their right place (in a time when fewer and fewer people are entertaining friends at home(opens in new tab)). The trick is making room for all those wayward clothes, blankets, chargers and other small things that end up on (or, inexplicably, in) the sofa. Here are 28 living room storage ideas to get you started and make tidying up a quick affair.
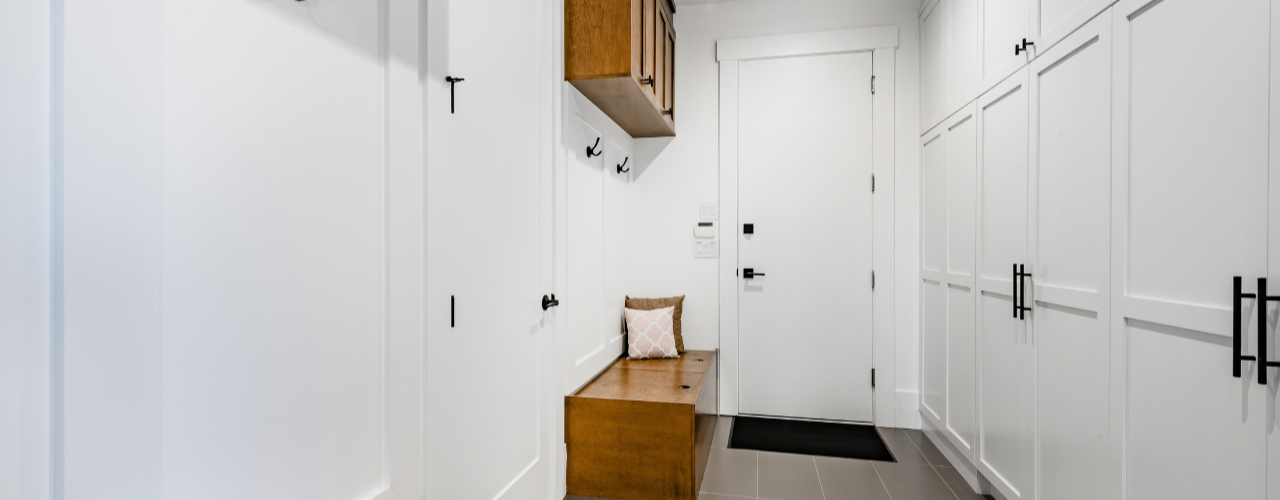
25 Mudroom Storage Ideas (And Mistakes to Avoid)
When you come home with muddy boots, an armful of bags and a coat you can’t wait to take off, it’s nice to have somewhere to put it all. With a mudroom, you can leave the outdoor mess at the door instead of carrying it through the house. Traditionally, you’d set aside a separate room, but you can just as easily use a hallway, an entryway closet, a laundry-room corner or a stretch of wall near the entrance.
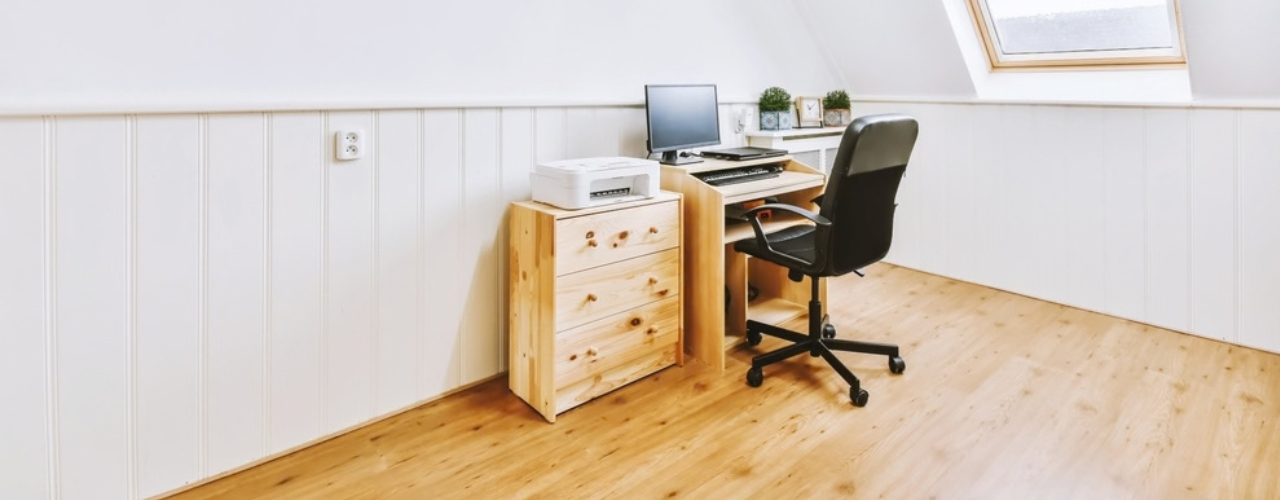
Is Your Home Office Worth the Rent? What Coworking and Self Storage Could Save You
Every square foot of your apartment comes with a price tag, and a home office claims more of them than most renters expect. It starts with a desk. Then come the second monitor, the printer, the filing cabinet and the overflow boxes. Before long, the corner you set aside for work has turned into a small room you are paying for every month.
Best U.S. Cities to Live Uncluttered: Plano, TX, Offers the Most Room to Breathe
Clutter is in our homes as much as in our heads. Both are shaped by where we live.

America’s Top Snowbird Destinations for 2026–2027: Florida Leads in Numbers, Texas Wins on Value
For Americans living in colder states, the approach of winter is reason enough to start looking south. Cold weather carries costs that go beyond the heating bill and shoveling snow. Seasonal affective disorder(opens in new tab) is far more prevalent in northern states, so a temporary move south isn’t simply an escape from the cold, but a chance to spend the hardest stretch of winter outdoors and in the sun.
How Much Does Halloween Really Cost in 2026? Plan Wisely to Avoid the Scare of Hidden Costs
Americans’ love for Halloween is almost frightening — this year alone, we are on our way to spending $13.5 billion, according to data from the National Retail Federation(opens in new tab). That breaks down to about $115 Halloween costs per person, a whopping 49% more than 10 years ago.