

’Tis the season to be jolly and crafty! DIY Christmas decorations aren’t just trinkets — they’re memory keepers, guardians of cherished traditions and carriers of family tales passed down through the years. When crafted with love and a sprinkle of magic, these festive homemade Christmas decorations become timeless treasures, ready to twinkle with the spirit of the season year after year.
So, buckle up your sleigh belts and join us on a merry journey of DIY Christmas home decor. We’ve curated a sleigh-ful of delightful and easy Christmas decorations that even Santa’s little helpers (yes, the youngest ones in your family) can create.
Let’s deck the halls with craftiness and wrap our homes in some beautiful DIY Christmas decorations.
Craft colorful yarn ornaments to add rustic charm to your Christmas tree
 This simple yet beautiful Christmas decor craft will infuse your tree with a rustic and elegant charm. Begin by inflating a balloon to your desired globe size. Wrap it snugly with jute twine or colorful yarn, securing the strands with tape, and then apply a coating of a 2-to-1 mixture of glue or Mod Podge to water. Allow the ornament to hang and dry thoroughly.
Once completely dried, gently pop the balloon and remove it from within the twine ball. Fashion a twine hanger for your creation and customize it with additional embellishments such as glitter, pinecones, bells, bows or holly berries, using hot glue to secure them.
 In fact, you can use this easy DIY technique to craft other various enchanting Christmas decorations. Consider making a cardboard cone tree and wrapping it with yarn — simply wrap, apply glue and let it dry. Experiment with diverse cone shapes and sizes to craft a Christmas tree forest that adds a whimsical touch to your holiday decor. The possibilities are endless — just let your imagination run wild to bring forth a unique festive ambiance throughout your space.
Create beautiful mason jar centerpieces with supplies you have around the house
 Crafting these pretty mason jar candle holders or table centerpieces requires just a handful of supplies commonly found in your pantry: mason jars, glue and Epsom salt. You can easily add an extra special touch with glitter, sprigs of greenery, dried cranberries and jute thread.
Begin by applying a thin layer of glue to the mason jar using a paintbrush. Then, coat the jar with a mixture of Epsom salt and glitter to achieve a frosty snow effect.
Decorate the jar with jute string, greenery, ribbons or other decorative elements of your choice. Complete the magical ambiance by placing a candle inside the jar.
These versatile creations can adorn your home or table, and with proper storage, they’ll continue to add beauty to your home year after year.
Build a whimsical paper house village
 Crafting creative Christmas paper houses is a heartwarming holiday craft that will get the whole family in a festive mood. These little houses, with their cozy and nostalgic charm, will become some of the most cherished adornments in your seasonal display.
Begin by printing the available Christmas house templates from online sources, then cut out and transfer the patterns onto poster board or sturdy card stock. From there, assemble and decorate to your liking to bring your festive village to life.
Unleash your creativity with markers or colored pencils, infusing each house with festive details like windows, doors and other elements. For an extra touch, add tiny wreaths, faux snow or miniature people or pets. The result is not just individual paper houses but a complete Christmas village, each piece contributing to a nostalgic and visually appealing decor.
Finding the perfect spot to display your handmade village, whether on a mantle, as a centerpiece or scattered throughout your home, allows you to revel in the joy of these unique and festive creations.
DIY dried orange wreath
 Create your own festive masterpiece with this DIY dried orange wreath. Begin by preparing your wreath base, whether it’s a natural grapevine wreath or a wire frame wrapped in twine for added texture. Using a hot glue gun, carefully attach dried orange slices, overlapping them to cover the entire surface, infusing your wreath with a burst of citrusy warmth.
Now, it’s time to craft bows from festive ribbons in various colors and patterns.
Strategically place these bows around the wreath and secure with wire or twine, nestling them among the dried oranges or gracing the top for a finishing touch. Attach a sturdy hanging element like a loop of twine or wire to the back of the wreath, ensuring it’s securely fastened.
Finally, step back and admire your creation, adjusting the placement of bows and oranges as needed. Display your handmade wreath with pride on your front door, above the fireplace or as a welcoming touch in any room, bringing a delightful blend of citrusy elegance and festive cheer to your holiday decor.
Upcycle paper bags into festive Christmas stars

Did you know you can transform ordinary paper bags into enchanting decorative stars with a simple upcycling project? Paper bag stars are gaining popularity, and it’s not just because they’re visually appealing — they’re also a breeze to create. All you need to get started are some paper bags you saved from your Christmas shopping spree, glue, scissors, a hole punch and string, making this a cheap alternative to store-bought paper stars.
Flatten the paper bags and cut them into strips. The width of the strips will determine the size of your stars, so feel free to experiment with different dimensions. Next, take five paper strips of equal length. Form each strip into a loop and secure the ends with glue, creating five interconnected loops. Arrange these loops to form a star shape and glue the points together.
Strengthen the structure by adding an extra layer of paper on the back of the star. This not only enhances durability but also adds a finished look. Use the hole punch to create a hole at one of the star’s points. This is where you’ll thread the string for hanging.
Finally, cut a length of string, thread it through the punched hole, and tie a knot. Ensure it’s securely fastened for hanging. And of course, you can get creative with additional embellishments like glitter, paint or festive patterns to customize your paper bag star.
Once your paper star is complete, find the perfect spot to showcase its charm. Hang them in windows for a whimsical touch or cluster them together above the dining room table for a magical holiday centerpiece.
Ensure the longevity of your DIY Christmas decorations with proper storage

Ensuring the longevity and good condition of your cherished Christmas decorations extends beyond the holiday season, making proper storage a key consideration. Opting for a secure self storage facility provides an ideal solution to safeguard your festive treasures. Before stowing away ornaments, lights and seasonal decorations, pack fragile items in bubble wrap or tissue paper and organize them in sturdy, labeled boxes.
For artificial trees, wreaths and larger items, consider using quality storage bags to prevent dust accumulation and maintain their shape.
With a well-organized storage approach, you can preserve the magic of your DIY Christmas decorations but also simplify the process of decking the halls for years to come.
Diving into the realm of DIY Christmas decorations not only adds a personalized touch to your holiday home but also opens the door to meaningful experiences with your loved ones. Beyond the glitter and glue, crafting these festive adornments becomes a shared journey and a way for families to bond, laugh and create cherished memories together.
The process of making DIY Christmas decorations serves as a therapeutic and relaxing escape amid the hustle and bustle of the holiday season. As we engage in the creative process, we find ourselves immersed in the joy of crafting, letting go of stress and fostering a sense of connection with the festive spirit.
So, this holiday season, consider setting aside time for some DIY crafting — not just to deck the halls but to nurture the bonds that make this time of the year truly special.
Enjoy your DIY Christmas decorations and have a very merry Christmas!


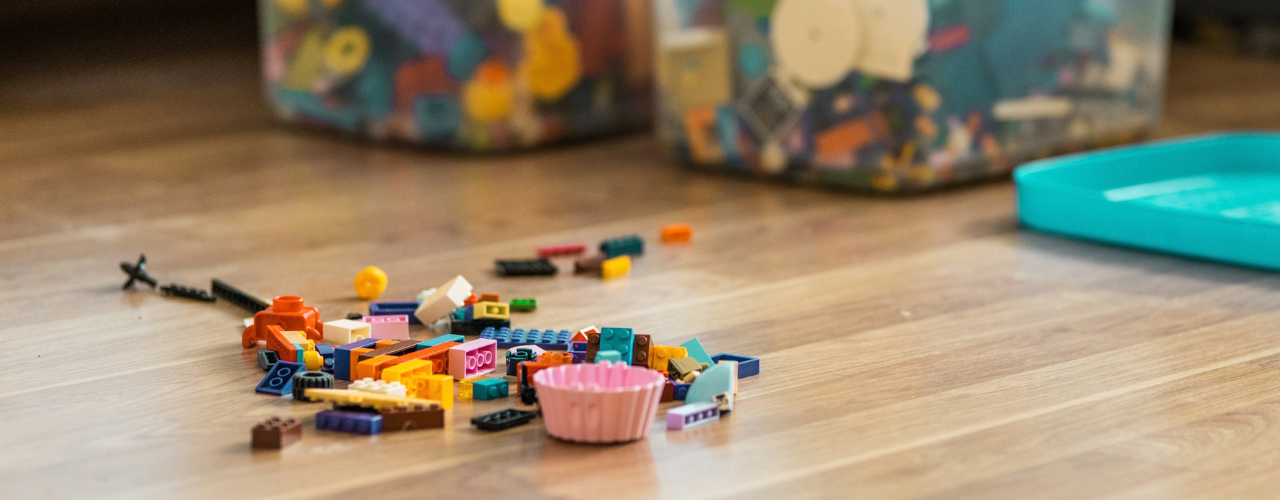
How to Store LEGOs: All the Fun, None of the Clutter
How to store LEGOs largely comes down to how your household uses them. If the bricks are part of everyday play, you need a setup that keeps them within easy reach and makes cleanup quick (for your feet’s sake, at least). Toy storage(opens in new tab) such as simple bins, playmats or containers that children can put away themselves may be enough. Larger or more serious collections usually need more organization, such as labelled drawers for loose pieces, trays for unfinished builds, shelves for completed models and separate storage for retired sets.

Cardboard Costume Guide: Tips and Ideas for a DIY Halloween
Whether for kids or adults, cardboard costume ideas often make the biggest splash once materialized, and that’s for a simple reason: doing a lot with a little is a universally impressive feat (especially in this economy). If you don’t have enough boxes you could temporarily repurpose, don’t worry! There are many places where you can find free moving boxes(opens in new tab), from stores and supermarkets to online groups and recycling drop-off spots. On the run? Try your luck at a self storage(opens in new tab) facility that sells moving supplies, often for cheap. This way, you can choose moving boxes of different shapes and sizes(opens in new tab), so you can make your costumes as complex as you want.

How to Celebrate Halloween: 9 Non-Spooky Ways To Enjoy It
As soon as October starts, it’s the official Halloween month. And while for many people it means it’s open season to get the scare of a lifetime, others, especially families with small children, might prefer to celebrate in a tamer way that’s both kid- and adult-friendly. While you’re likely to find more events where the spook factor is high, here’s how to celebrate Halloween in a not-so-scary way:

Motorcycle Storage Guide: How to Store Your Bike Safely
Motorcycles may be born to be wild, but eventually even the wild ones need somewhere to park. Whether riding season is winding down or your current living situation comes with plenty of square footage for you and less for your bike, motorcycle storage is one of those parts of ownership that doesn’t get as much airtime as the open road.

Halloween Decorating on a Budget (And Cheap Ideas for Everything Elsee)
Halloween has crept a long way from its eerie origins. While All Hallows’ Eve has transformed through the centuries, it wasn’t until the 1930s that trick-or-treating became a tradition in the U.S. and businesses began conjuring up mass-produced Halloween costumes. Now, Halloween is a monster-sized, billion-dollar industry, with a cauldron full of costumes and decorations ranging from the mainstream to the macabre. But is it all really worth your wallet? Maybe, but we’ll let you in on a little secret: You can keep your Halloween decorating on a budget and save on everything else, too. Take this plan and see it through!

Moving From a House to an Apartment: What to Expect, How to Downsize & How Self Storage Helps
For some, moving from a house to an apartment is a financial decision. For others, it’s about simplifying life. Maybe the kids have moved out and half the house sits empty, or you’re approaching retirement and no longer want to spend weekends on repairs. Or perhaps you’ve been weighing the cost of buying a home and wondering whether renting simply makes more sense right now.
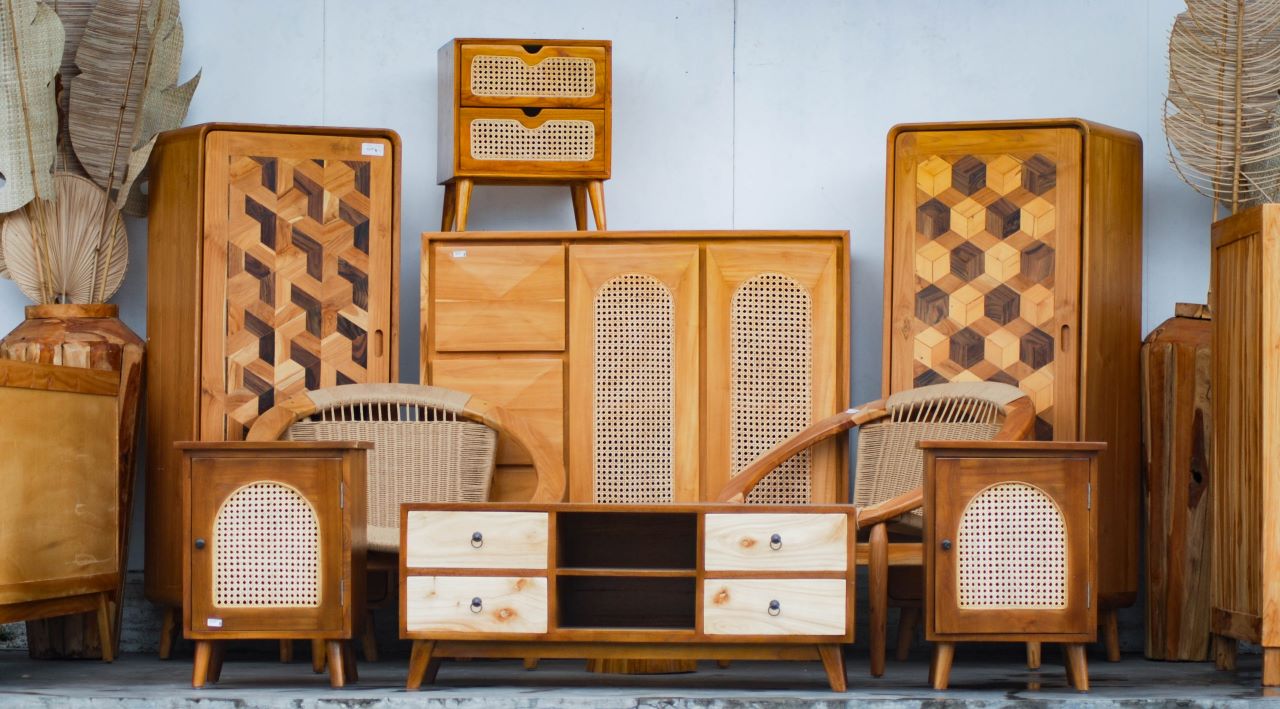
Family Heirlooms Overload: How to Handle Family Inheritance Without Regret
Handling family heirlooms after a loss requires managing legal authority, emotional pressure and practical logistics at the same time, and the order you take them on matters more than most people expect.
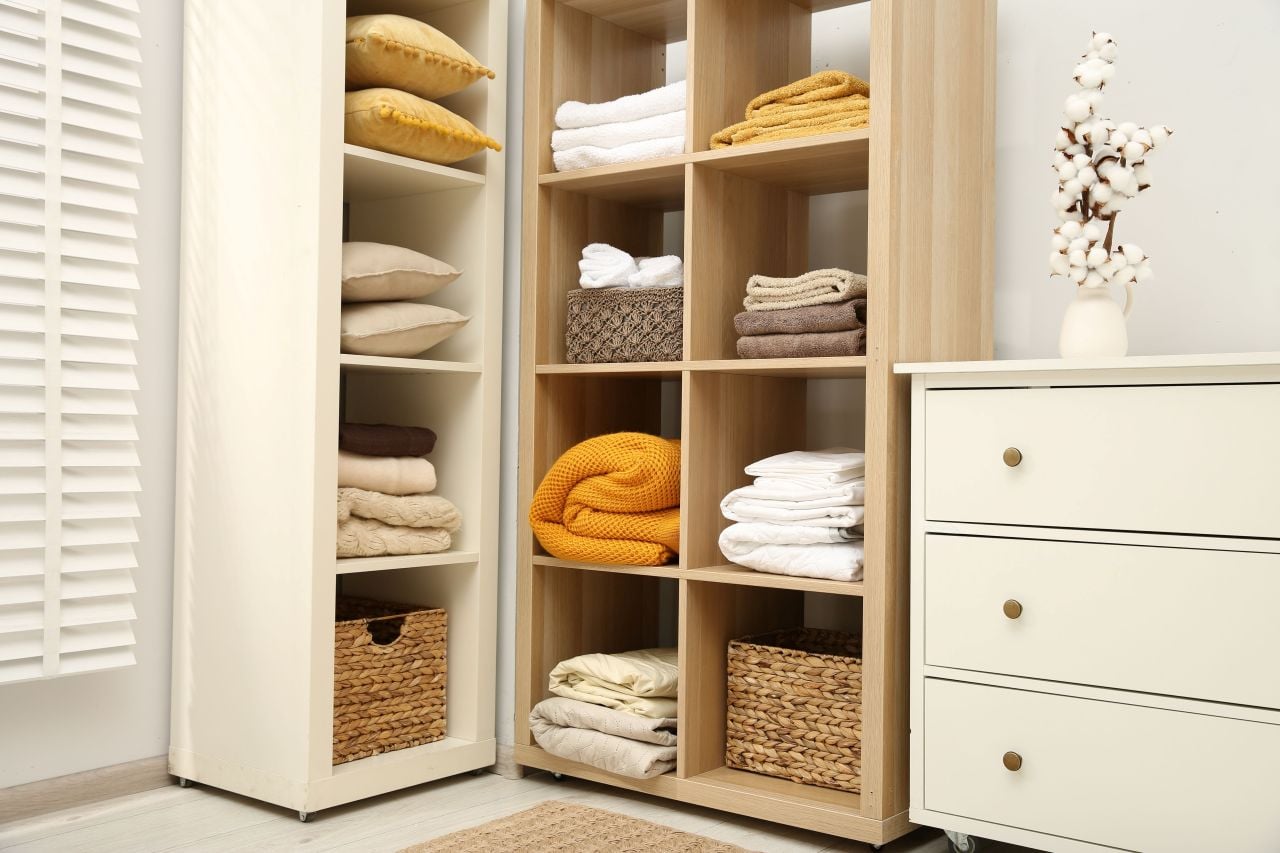
Blanket Storage: The Right Method for Every Space and Season
Blankets make our lives cozier, and storing them well is what keeps them soft and comfortable in the long run. Knowing how to store a blanket properly means your favorites come out of storage smelling fresh, feeling the same as when they went in, and lasting years longer than they otherwise would.
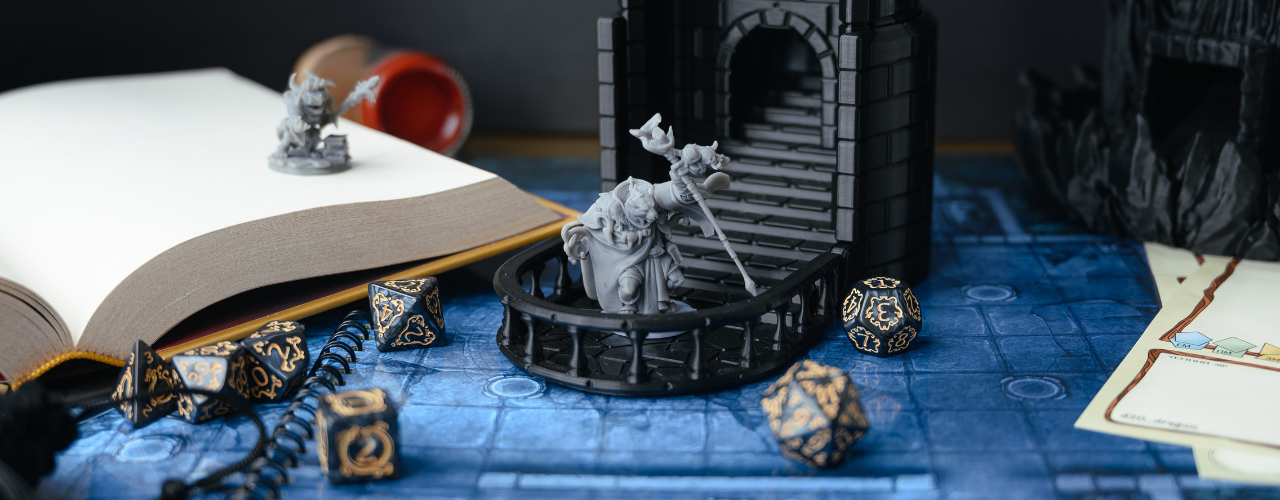
Board Game Storage Ideas That Keep Your Collection in Fighting Shape
Nobody warns you that getting into board games usually unlocks a second hobby, the much dreaded one that includes figuring out where on earth to put them. One game becomes a few, expansions start spawning beside their base boxes and before long, board game storage requires as much strategy as whatever is waiting on the other side of those lids.