

A finished basement adds both space and value to your home, and it’s a smart investment in the long run. Instead of a space filled with dusty old stuff you haven’t touched in years, you could be enjoying a guest bedroom, a home gym, a media room, a playroom or a home office. If you are planning to finish your unfinished basement or remodel it, there are a few things to think about before taking on the renovation project. Establishing a budget, planning the purpose and the layout of the space and the timeline of the project are crucial.
Here are a few key considerations to keep in mind as you start turning your basement into a bonus room.
How much does it cost to finish a basement?
The average national estimate for finishing a basement stands at around $18,000, according to Home Advisor, but it can the significantly lower, or higher, depending on the size of your basement and the type of work needed to get it in its best shape. The price per square foot may well vary between $7 and $23. That’s not cheap, but in many cases, that price will get you your own retreat – whether that means a home theater, a hobby room, a man cave or even a home spa.

If you’re a keen DIY-er and you have some experience with home improvement projects, you could do at least some parts of the project yourself, thus reducing your costs. Whichever route you decide to go, it’s important to have a clear budget before starting the project.
Finishing your basement can be a sound financial investment if you are planning to sell your home in the future. If you decide to turn the space into an extra bedroom, for example, it could add between $30,000 to $50,000 of value to your home.

An additional bathroom could also potentially increase the resale value of your home by a few thousand dollars, or even tens of thousands, depending on the size of the new bathroom, the type of finishes and the value of homes in your area.
Decide what you want to do with your basement
Define your purpose for finishing up the basement – it’s important to know what you want to use it for, to adjust the remodeling work to that. If you’re planning to have just a utilitarian space (laundry room, storage area), you might not want to invest a lot of money in luxury finishes – you want functional, inexpensive and easy-to-maintain surfaces.
However, if you’re planning on gaining extra living space, the project will probably be more complex – you might have to replace windows or install new better-insulating windows, install partition walls or roll shutters and pick finishes that are suitable for creating a welcoming environment. That’s why it’s important to decide beforehand how you’re going to use your finished basement – you will have to draw your budget and plan the execution of the project based on that information.

How to finish a basement from floor to ceiling
Finishing a basement is time-consuming – no corners to cut here – and there may be some challenges you need to be aware of right from the start. Planning can help you get your basement from drab to fab without upsetting your inner peace. Get things moving by ticking off the steps below.
1. Declutter your basement
First things first, you need to do a thorough clean-up of your basement. Take everything out and sort it in categories: to keep, to donate/sell, to recycle and to throw away. Rent a self storage unit for the items in your basement that you want to keep. A 5×5 storage unit is enough if you need to store just a few boxes and some tools. However, if you have other, bigger items to store, such as furniture, appliances, sporting equipment and so on, you should rent a 5×10 storage unit or a 10×10 unit.
2. Inspect the entire space
Now that everything is out of the way, it’s time to inspect the entire space to see what’s possible and what’s not. Basements contain things like heating ducts, water pipes, electrical wires and gas lines that might get in the way of your redesign ideas. Measure the entire space, trace the floor where the new walls are supposed to be and make sure that your design doesn’t interfere with anything that’s very difficult, or very expensive, to move (electrical, plumbing, etc.).
3. Look into building permits
Before starting the actual work on your basement, you need to obtain the proper building permits. Look into the local building codes that regulate things like mandatory ceiling height or the number of exits you must have. Once you find out all that information, you can reevaluate if the project is possible, financially feasible and whether you need to hire contractors or do it yourself.
4. Waterproof the basement
If your basement is damp, you need to waterproof it properly before moving on to any remodeling work. You need to first identify where the dampness comes from – it could seep from outside if the downspouts are not oriented properly or if your lawn slopes toward your basement. It could also mean there may be some water pipe issues in your basement. Once the main issue is solved, you should also use a waterproof coating on the basement floor and walls.
It’s highly recommended that you hire professionals to waterproof your basement – if done improperly, or if you didn’t identify the source of the dampness correctly, it will compromise your entire project.
5. Insulate the basement
To maintain a pleasant temperature in your basement, regardless of season, it’s important that you insulate the basement (exterior walls and floor area). For the exterior walls, you can choose between fiberglass, mineral wool, spray foam or rigid foam panels. For the floors, combine extruded or expanded polystyrene insulation with reflective foil. But again, it’s a job for contractors; it’s advisable to take on the project yourself only if you get sound guidance from a professional every step of the way.

6. Deal with water, plumbing and electrical hookups
This is another step where you could use some professional expertise. Extending the water, plumbing and electrical supplies throughout the basement is complicated work, and it needs to be done properly, for safety reasons. Also, you don’t want to get into trouble with water leaks and other similar issues as soon as your basement is finished. So, unless you did similar work in the past and you’re positive you know how to, delegate these tasks to contractors.
7. Walls, ceiling and flooring
The final steps are framing the walls, installing drywall and finishing the ceiling and flooring. It’s a good idea to use waterproof and water-resistant materials for these finishes. Even if you did a good job with waterproofing the basement, it could still get more damp than the rest of the home, so it’s a good idea to be cautious.
With the hard work completed, you’re only left with unleashing your creative skills and bringing in the stuff that will make you relax and smile after a long day’s work.
Finishing the basement is a big and generally expensive project – however, it can add precious space to your home, and could also increase the resale value of your home.


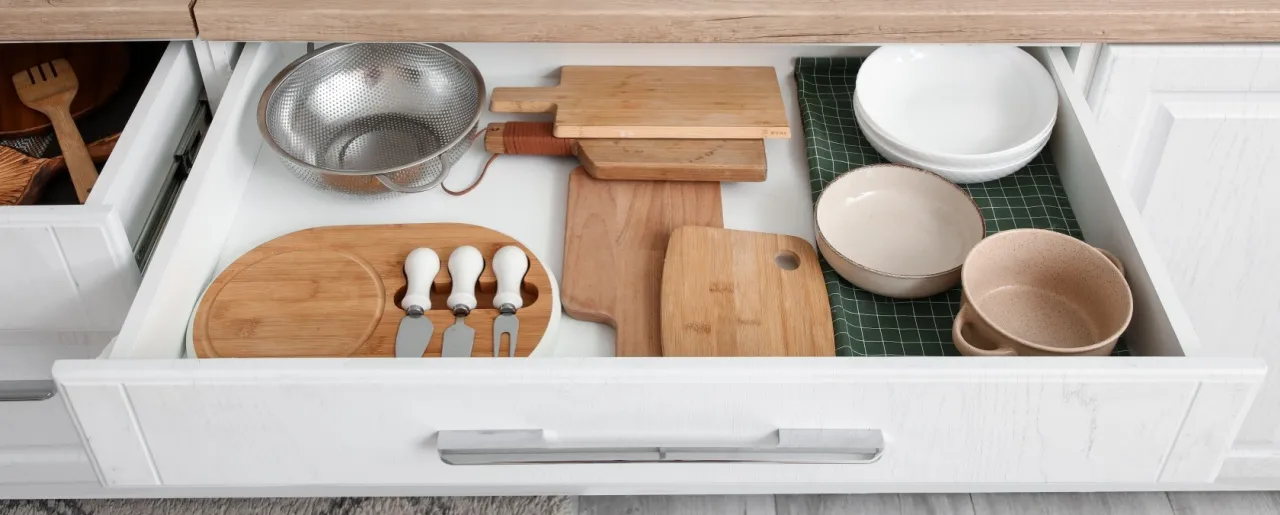
How to Organize Your Kitchen Drawers: Smart, Practical Ideas That Make a Real Difference
The best way to organize your kitchen drawers boils down to a few core principles: give each drawer a specific role, store items close to where you use them, and choose organizers only after you’ve decluttered. Most kitchen drawers aren’t cluttered because of a genuine lack of space but because no one decided what belongs where. Fix that first, and the rest becomes much easier.

The Ultimate New Home Checklist: 20 Essential Boxes to Tick
Moving into a new home is thrilling and stressful in equal measure. While you’re busy planning the big-ticket items like furniture and appliances, it’s easy to forget a handful of smaller essentials that you’ll suddenly need right before or just after the move. That’s exactly why a good new home checklist is worth keeping close. To make your move as smooth as possible, we’ve pulled together the ultimate list of basic items and setup tasks that cover everything your new place needs. First-time buyer or seasoned mover, this guide will help you settle in safely and comfortably, without those maddening last-minute runs to the store.

How to Store Trading Cards (Without Losing Your Grails)
The right way to store trading cards is a layered system, like gearing up for a boss, but the boss is time and physics. For this quest, you’ll need penny sleeves to protect surfaces, rigid holders to protect structure, archival boxes or binders to provide organization and access, and climate control — around 65–72°F and 40–50% humidity — to protect everything else. That combination keeps cards mint whether you have fifty or five thousand of them.

How to Store and Winterize Your First RV: A Complete Beginner’s Guide
Storing and winterizing an RV properly is the difference between an RV that holds its value and stays reliable for years and one that greets you in spring with cracked pipes and a dead battery. This guide covers where to store your RV between trips, how to winterize it before the first hard freeze, and what to check before your first trip of the season along with the basics of choosing and buying your first unit.
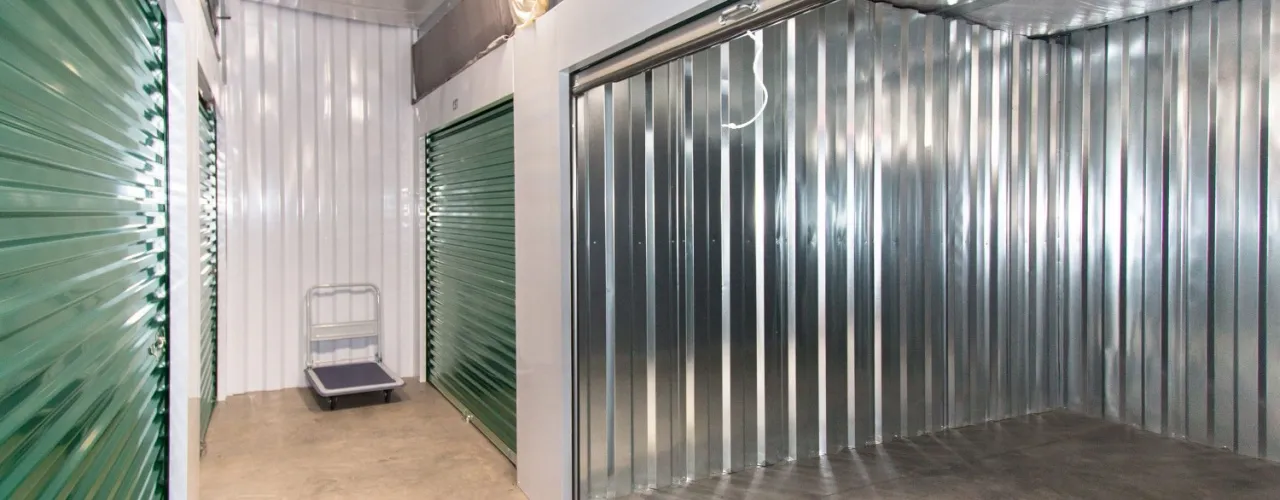
Do You Need Climate-Controlled Storage? A Practical Guide to Making the Right Call
Most people need climate-controlled storage for one of the following reasons: they’re storing valuable items that can be damaged by unchecked temperature or humidity, they live in a climate with extreme weather conditions or they plan to store their belongings for an extended period.

StorageCafe Now Has a Dedicated Storage Unit Price Guide
If you’ve ever tried to figure out whether a storage quote was fair, you know the problem. You see a monthly rate, but you have no way to tell whether it’s a deal, a premium-level price, or right in line with the market — and pricing tools that give you real context are surprisingly hard to find.
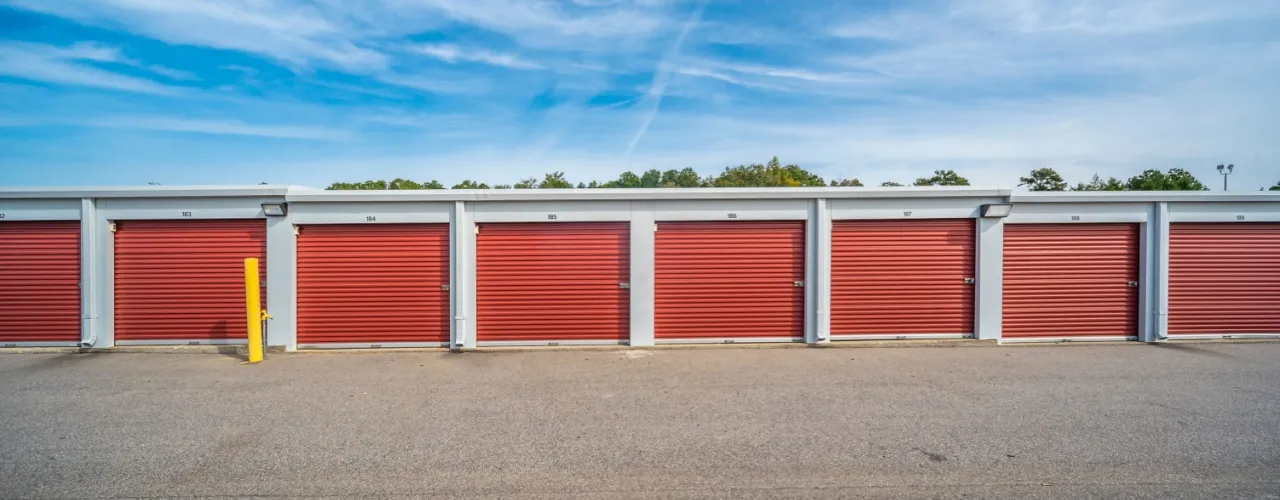
StorageCafe’s Industry Trends Page: A Sharper Look at the Market
When it comes to self storage, the hard part is finding data that’s both current and retrospective, both granular and sweeping, but also — and most importantly — trustworthy enough to act on. After all, national averages age quickly, and the numbers that move decisions live at the metro and submarket level. Regularly refreshed and highly authoritative, StorageCafe’s Self Storage Industry Trends page exists to close that very gap for professionals in the self storage sector, as well as real estate reporters and journalists. It brings live, nationwide market data into one place and breaks it down city by city, drawing on the same intelligence the professional side of the business relies on. Here’s what it covers and why it’s worth keeping open in a tab.

Scuba Gear Storage Guide: Keep Your Kit Dive-Ready
The best way to store scuba gear is in a cool, dry, shaded space where equipment can hang or lie flat without compression. Salt residue, moisture, heat and UV exposure are the main causes of premature breakdown in neoprene, rubber and metal components. Rinsing thoroughly after every dive and allowing everything to dry completely before storage prevents most long-term damage.
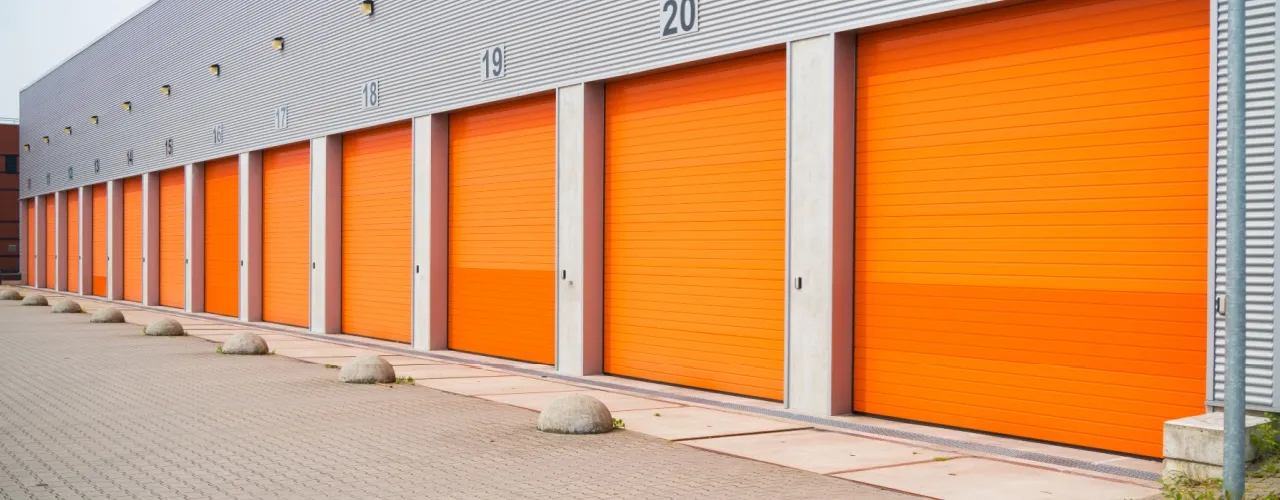
Large Storage Units Explained: How to Know What Size You Need
Large storage units start at the 10’x20’ and climb from there. The 10’x20’ is the most common — the familiar lock-up garage you see at nearly every facility. Above it sit the 10’x30’, 20’x20’, and 20’x30’ plus specialist spaces for storing boats, RVs and commercial equipment.